
Embroidery Tutorials
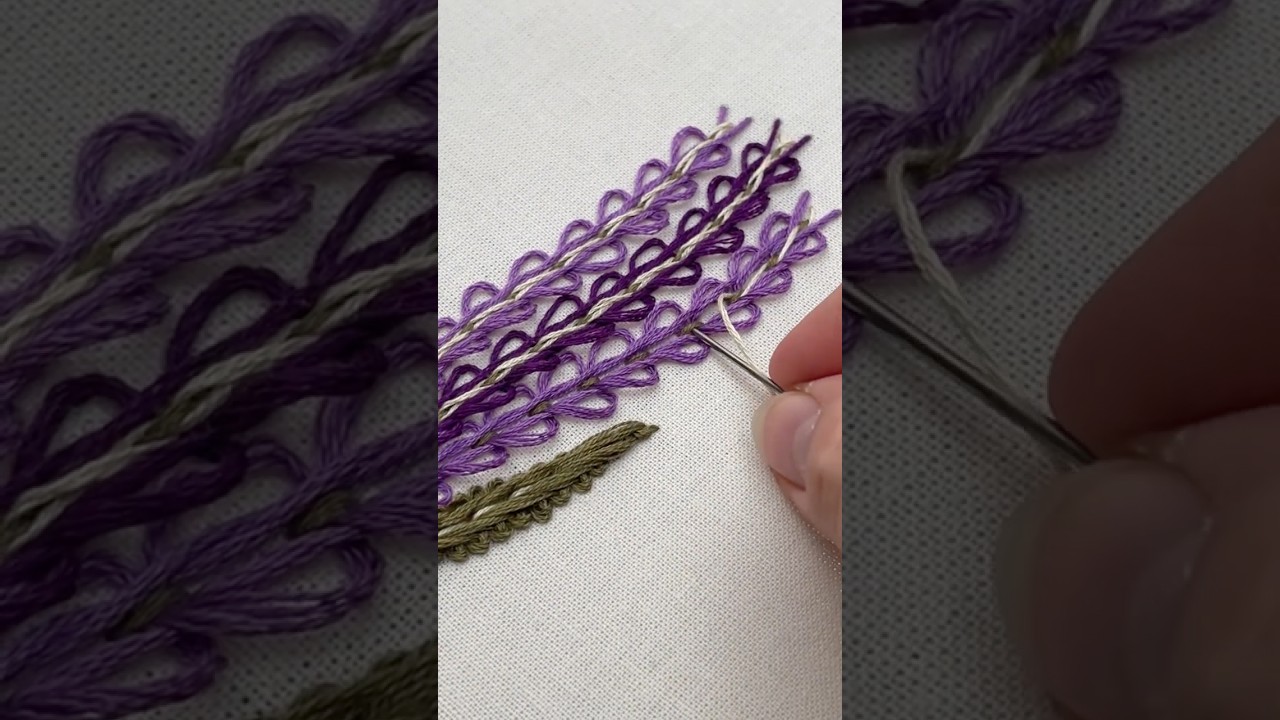
Unique Hand Embroidery Lavender Design with Looped Running Stitch
Unique Hand Embroidery Lavender Design with Looped Running Stitch
Bring your fabric to life with this charming lavender embroidery ...

Unique Hand Embroidery Lavender Design with Looped Running Stitch | Leaf Stitch Embroidery Designs
Bring your fabric to life with this charming lavender embroidery ...

Very Simple Hand Embroidery Flower Design with Lazy Daisy Stitch #shorts #short #shortvideo
In this tutorial, I’ll show you how to create a very simple yet ...

Very Simple Hand Embroidery Flower Design | Lazy Daisy Stitch Tutorial + Russian Chain Stitch
In this tutorial, I’ll show you how to create a very simple yet ...
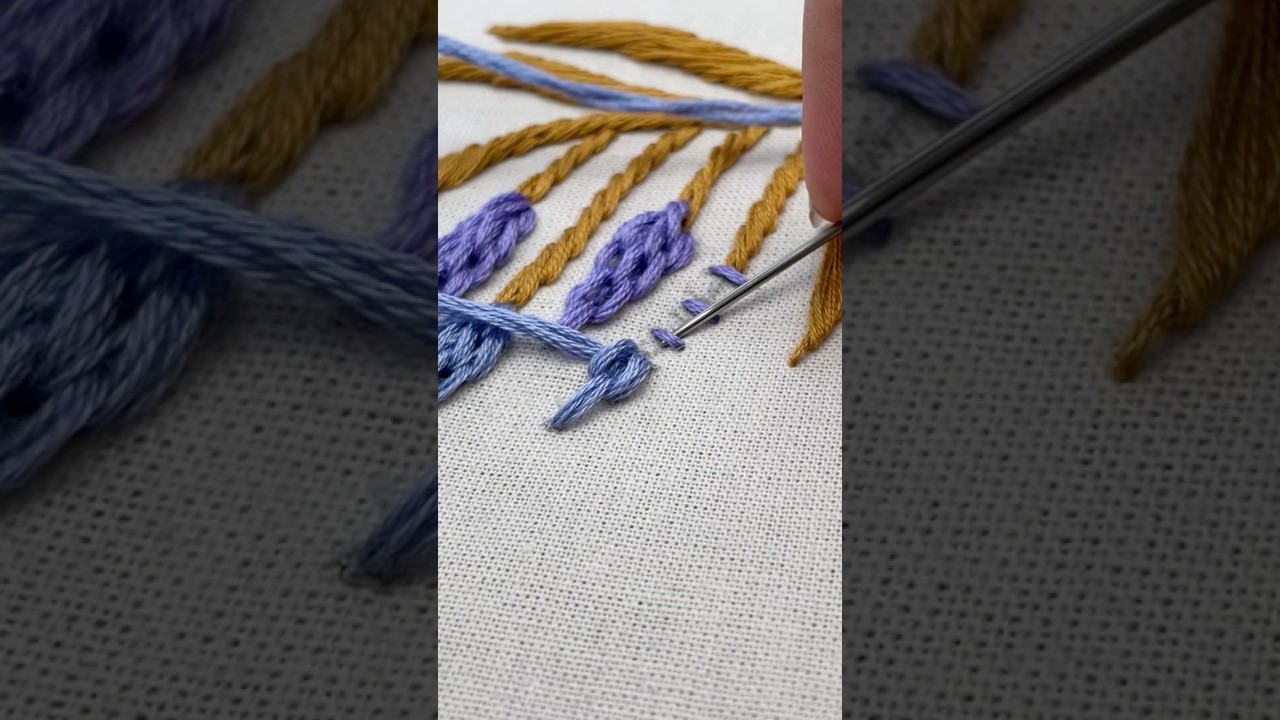
Stunning Cluster Flowers Using Portuguese Border Stitch #shorts #shortvideo #short
In this tutorial, I used a beautifully creative technique to stitch ...

Stunning Cluster Flowers Using Portuguese Border Stitch | Most Beautiful Embroidery Design
In this tutorial, I used a beautifully creative technique to stitch ...

Very Simple Border Using Eskimo Laced Edging & Stepped Running Stitch #shorts #shortvideo #shorts
Create a beautifully detailed and modern border line with this elegant ...

Elegant Border Using Eskimo Laced Edging & Stepped Running Stitch | Latest Hand Embroidery Designs
Create a beautifully detailed and modern border line with this elegant ...

Elegant Cluster Flowers with Eskimo Laced Edging Stitch #shorts #shortvideo #short
Bring your fabric to life with this Elegant Cluster Flower Embroidery ...

Elegant Cluster Flowers with Eskimo Laced Edging | Easy Step-by-Step Hand Embroidery Tutorial
Bring your fabric to life with this Elegant Cluster Flower Embroidery ...

Very Easy Flower Embroidery with Eskimo Laced Edging Stitch #shorts #shortvideo #short
In this creative tutorial, you’ll learn how to stitch a beautiful ...

Very Very Easy Flower Embroidery with Eskimo Laced Edging Stitch | Simple Hand Embroidery Design
In this creative tutorial, you’ll learn how to stitch a beautiful ...